Make a unique and beautiful handmade dreamcatcher that shows off your style. This guide will help you. A bohemian dream catcher is more than just home decor. It’s also a symbol of spiritual importance.
You’ll find out how to craft a dreamcatcher from start to finish. You’ll learn about picking the right materials, wrapping the hoop, and adding feathers and beads. This way, you’ll make a truly special piece.
Key Takeaways
- Craft a unique handmade dreamcatcher with this step-by-step guide.
- Learn to choose the right materials for your bohemian dream catcher.
- Discover how to wrap the hoop and add feathers and beads.
- Create a stunning piece of home decor with spiritual significance.
- Develop a beautiful and meaningful DIY dreamcatcher.
What is a Boho-Style Dreamcatcher?

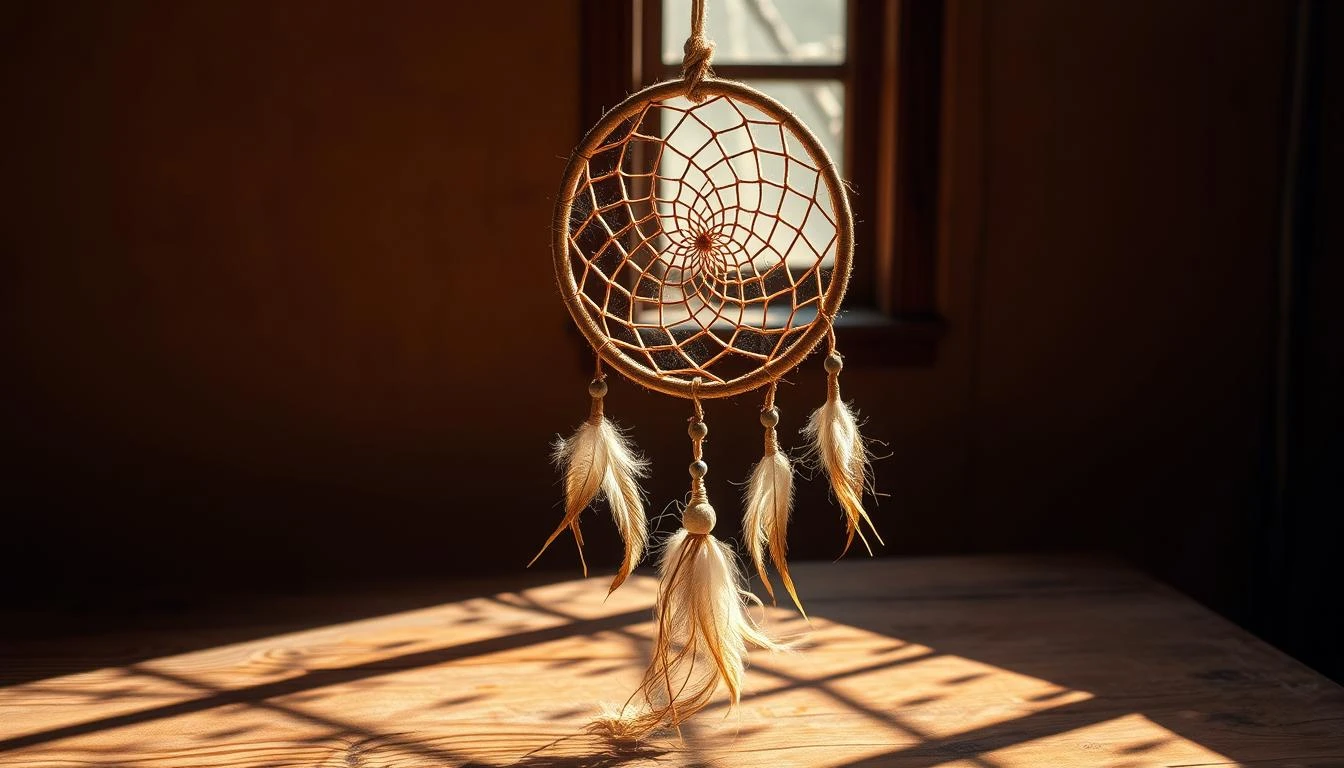
Boho-style dreamcatchers are handmade pieces that show off bohemian style. They add beauty to your home and have a deep history and spiritual meaning.
A bohemian dream catcher comes from Native American culture. It was made to keep bad dreams away. Today, it mixes old traditions with new ideas.
Origin and Significance
The dreamcatcher started with the Ojibwe Native American tribe. They believed it could catch bad dreams and let good ones through. This belief is still kept alive in boho dreamcatchers, blending old and new.
Dreamcatchers are more than just decorations. They’re believed to bring positive energy and protection. Hanging one in your home invites good fortune and peace.
Shop This Look Now


Bohemian Aesthetics
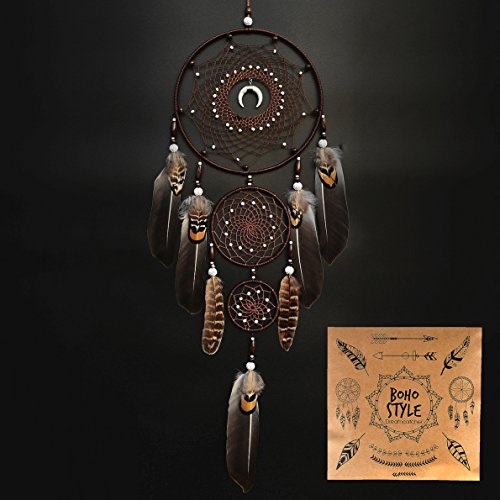
The bohemian aesthetic celebrates a free-spirited life through decor. Boho dreamcatchers mix natural materials, bright colors, and textures. Each one is unique, showing off creativity and self-expression.
Bohemian decor loves natural things, vintage items, and global touches. Making a boho dreamcatcher means using feathers, yarn, and wooden hoops. You can add beads or other special items for extra flair.
Common Materials Used
Making a boho dreamcatcher uses natural and eclectic materials. You’ll need:
- Hoops (wooden or metal)
- Yarn and threads in various colors
- Feathers
- Beads and other embellishments
- Natural fibers and materials
These materials help you make a dreamcatcher that shows your style and creativity. By picking the right materials and adding meaningful touches, you can make a boho decor DIY project that stands out.
Essential Materials for Your Dreamcatcher

To make a unique DIY dreamcatcher, you’ll need some key materials. These should reflect your personal style. The right supplies will help you create a dreamcatcher that catches bad dreams and adds bohemian charm to your home.
Finding the Right Hoop
The hoop is the base of your dreamcatcher. It can be made from metal, wood, or bamboo. Think about the size and material that fits your design. A metal hoop is sturdy, while a wooden or bamboo hoop brings a natural feel.
Shop This Look Now


Choosing the Right Yarn and Threads
The yarn and threads make up the web of your dreamcatcher. It’s important to choose colors and textures that match your style. You can pick bright colors for a bold look or soft tones for a calm vibe. Use cotton or wool yarn for a rustic feel or silk threads for luxury.
Unique Embellishments to Consider
Embellishments make your dreamcatcher special. You can add feathers, beads, or other decorative elements for a personal touch. Feathers add whimsy, while beads bring elegance. Try different combinations to make a dreamcatcher that shows off your style.
By choosing the right materials, you’ll create a stunning handmade dreamcatcher. It will not only catch bad dreams but also become a beautiful home decor piece.
Step 1: Preparing Your Workspace

To make your own dreamcatcher, start by setting up a workspace. This area should be creative and productive. It’s the first step to a fun and successful DIY project.
Creating a Clean and Inspiring Environment
Clear a space where you can work without distractions. A tidy area helps you organize and sparks creativity. Add plants, artwork, or quotes to inspire you and create a boho vibe.
Good lighting is key for crafting. Make sure your space is well-lit. Natural light or a bright lamp helps you see your work clearly.
Shop This Look Now


Gathering Your Materials
Before starting, collect all your materials. You’ll need a hoop, yarn, threads, feathers, beads, and embellishments. Having everything ready saves time and keeps your creativity flowing.
Organize your materials in a way that makes sense to you. This could be by type, color, or the order you’ll use them. It makes crafting more efficient and fun.
Tools You Will Need
You’ll also need basic tools like scissors, a needle, glue, and a hot glue gun. Ensure these tools are ready and in good shape. This avoids any problems during your project.
By preparing your workspace, you’re ready to create a beautiful dreamcatcher. A well-prepared space is the secret to a successful DIY project.
Step 2: Wrapping the Hoop

Wrapping the hoop is a key step in making your dreamcatcher. We’ll show you how to do it. This step adds color and texture and helps catch bad dreams.
Techniques for a Neat Wrap
Start by tying a small knot to secure the yarn or thread to the hoop. Then, wrap the yarn around the hoop in a steady pattern. Make sure to cover the whole hoop. You can use one color or mix different ones for a unique look.
Tip: Use a bit of glue to keep the yarn in place as you wrap. This stops it from coming undone.
Choosing Colors that Pop
The colors you pick for your dreamcatcher matter a lot. Think about the room it will be in and pick colors that match. You can also choose colors that show your style or the meaning behind them.
For instance, blue yarn means calmness and peace. Red yarn stands for energy and passion.
Tips for Tight Wrapping
To wrap tightly, keep the yarn tension even. You can use a tool or stick to help keep it tight. Also, overlap the yarn to avoid gaps.
By following these tips, you’ll get a beautifully wrapped hoop. It will be the base of your boho-style dreamcatcher.
Step 3: Crafting the Web

Now that your hoop is wrapped, it’s time to make the web. This part is crucial as it filters out bad vibes and lets good ones through. It’s what makes your dreamcatcher special.
Patterns to Explore
There are many patterns for your dreamcatcher’s web. You can go for a classic spider web pattern or something more complex like a mandala pattern. Each pattern brings its own spiritual meaning.
Weaving Instructions
Begin by tying a knot on the hoop where you want to start. Then, wrap the yarn or thread around the hoop in a circle. Pull the thread gently to tighten it without making it too tight or too loose.
For a spider web, you’ll make circles that connect with radial threads. If you choose a mandala, sketch it out first. This helps you see your design and make changes if needed.
Shop This Look Now


Tips for a Consistent Design
To make your dreamcatcher look great, keep your design consistent. Here’s how:
- Keep your tension even as you weave.
- Space your threads or yarns evenly apart.
- Use a consistent pattern or design throughout.
By following these tips, your dreamcatcher will not only look amazing but also work well. It will catch good vibes and keep bad ones away.
Step 4: Adding Feathers and Beads

The last steps in making your dream catcher include adding feathers and beads. These elements make your dream catcher look great and carry spiritual meaning. This is your chance to make it truly special and unique.
Selecting Feathers that Reflect Your Style
Feathers are key in dreamcatcher making. They stand for air and breath, and carry prayers to spirits. When selecting feathers for your handmade dreamcatcher, pick colors and types that show your style or the energy you want to attract. For example, owl feathers mean wisdom, and peacock feathers mean beauty and diversity.
Choose feathers that fit your home decor or the dreamcatcher’s purpose. For a bohemian look, mix different textures and colors. Or, pick feathers in one color for a simple look.
Attaching Beads for Added Flair
Beads make your dreamcatcher look good and carry special meanings. They can stand for prayers, luck, or spiritual growth. When attaching beads to your craft your own dreamcatcher, use a thread that matches the beads’ color. Make sure they’re tied well to handle them.
You can space beads out evenly or make a pattern. For a detailed look, layer beads of different sizes and textures. Or, use them to spell out a message or pattern that means something to you.
Arranging Your Accessories
Putting feathers and beads in the right spots is an art. As you arrange your accessories on your homemade dream catcher, think about balance and harmony. You might spread feathers and beads out evenly for order, or unevenly for a natural look.
Try different ways until you like it. Remember, the beauty of a handmade dreamcatcher is its uniqueness and the story it tells. So, let your creativity flow.
Personalizing Your Dreamcatcher

Now that you’ve made the basic dreamcatcher, let’s make it your own. Personalizing your bohemian dream catcher turns it into a special boho decor DIY piece.
Incorporating Natural Elements
Adding natural elements is a great way to personalize your DIY dreamcatcher. You can use dried flowers, leaves, or feathers that match your style. For example, a shell or driftwood can give it a beachy feel.
Adding Personal Mementos
Adding personal mementos makes your dreamcatcher unique. You can use a special piece of jewelry, a favorite ribbon, or a photo. It becomes a keepsake that’s full of meaning.
Think about the look you want when adding mementos. A small charm or bead can be subtle. But, attaching multiple items can make a bold statement.
Shop This Look Now


Experimenting with Color Schemes
The colors of your dreamcatcher can reflect your style or match your home. Try out different colors to find the perfect fit. You might choose colors that match your room or reflect your favorite season.
For a boho decor DIY project, don’t be shy about mixing colors and textures. Bohemian style loves creative color combinations, so have fun!
Displaying Your Dreamcatcher

Displaying your dreamcatcher is an art form. We’re here to guide you through it. Once you’ve made your dreamcatcher, finding the perfect spot to show it off can make it even more beautiful and meaningful.
Best Locations in Your Home
The place you put your dreamcatcher can change a room’s feel. Hang it above your bed to catch bad dreams and add a bohemian vibe to your bedroom. Or, place it in a window to filter sunlight and add mysticism to your space. You can also hang it on a wall as a bold statement, attracting attention and sparking conversations.
Seasonal Display Ideas
To keep your dreamcatcher display fresh, update it with the seasons. For autumn, add fall-themed decorations like dried leaves or pinecones. In spring, use floral elements for a lively feel. This keeps your decor current and lets you get creative with your display.
Using It as a Gift
A handmade dreamcatcher is a unique and thoughtful gift. When giving it, package it beautifully to make it more appealing. Wrap it in a decorative cloth or put it in a handmade box. A personalized note explaining its significance and the thought behind it can make the gift even more special.
By thoughtfully displaying your dreamcatcher, you not only beautify your space. You also share your creativity and craftsmanship with others.
Maintaining Your Dreamcatcher
Now that you’ve made your own boho-style dreamcatcher, it’s key to keep it in good shape. This way, its spiritual meaning stays strong. Regular care will make sure your DIY dreamcatcher stays beautiful and meaningful in your home.
Tips for Cleaning and Care
Use a soft-bristled brush to gently dust your dreamcatcher. This removes any dirt. Don’t let it sit in direct sunlight, as it can fade the colors. Choose materials that are easy to clean when you make your dreamcatcher.
Refreshing Your Design
As time goes by, you might want to update your dreamcatcher’s look. Adding new feathers or beads can give it a fresh vibe. It’s also a chance to think about how your dreamcatcher has changed your life.
Preserving the Spirit
To keep your dreamcatcher’s spirit alive, hang it where it catches morning light. This energizes and recharges its spiritual power. By following these tips, you’ll enjoy your dreamcatcher for many years.